

Summary
28 items · 30-60 minutes
Why the Pre-Move-In Walkthrough Is Non-Negotiable
Signing a lease commits you financially and legally - often for a year or more. Yet many renters tour an occupied or staged unit and never conduct a proper inspection of the space they'll actually inhabit. That gap between touring and moving in is where disputes are born.
The walkthrough you do before signing, or at minimum before handing over your first payment, creates a documented baseline of the unit's condition. Without it, any scuff, stain, or broken fixture discovered on move-out day can be attributed to you - whether or not you caused it. State security deposit laws vary widely, but landlords in nearly every jurisdiction can deduct costs for damage beyond normal wear and tear. Your inspection record is the evidence that separates your responsibility from what was already there.
If you're new to renting, see our complete first-time renter's guide for a broader orientation to leases, deposits, and the move-in process. For a deeper look at how deposits work and what landlords can legally deduct, our guide on security deposit rules and protections is essential reading before you sign anything.
Document Issues Before You Move Anything In
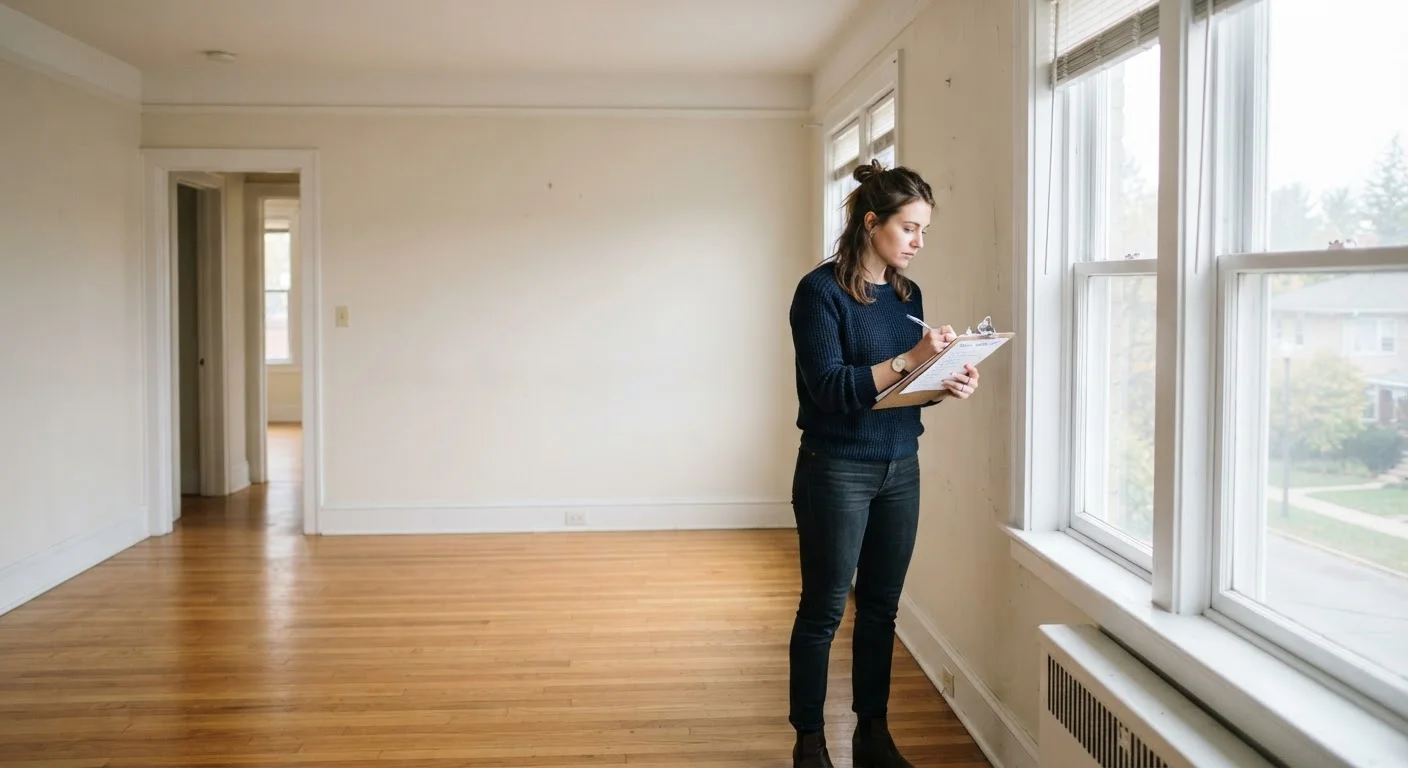
The legal and practical value of your inspection depends entirely on timing. Photos or videos taken after you've moved furniture in are far harder to use as evidence of pre-existing damage. Conduct your full documentation walkthrough with the unit completely empty, ideally on the same day you receive the keys and before a single box crosses the threshold.
What to Bring and How to Approach the Inspection
An effective walkthrough is systematic and documented. Arrive with the right tools and a clear plan.
Smartphone with video camera
Record a continuous, time-stamped walkthrough video that documents every room's condition before move-in.
Phone charger or small USB device
Plug into each outlet to verify it delivers power without needing a multimeter.
Notepad or digital inspection form
Record room-by-room observations in writing alongside your photos for a comprehensive paper trail.
Flashlight or phone torch
Illuminate dark corners, under-sink cabinets, and closet floors where damage and pests are easy to miss.
Tape measure
Verify that furniture and appliances you plan to bring will fit through doorways and into intended spaces.
Walk room by room in a fixed order so nothing is skipped. Narrate issues clearly in your video or photo captions - "crack in southwest bedroom wall, approximately 8 inches, runs from window frame downward" is far more useful than a blurry photo with no context. When you finish, share your findings with the landlord in writing and request acknowledgment. Many landlords provide a move-in condition checklist; if yours does not, use your own and ask them to co-sign it.
Verbal Agreements With Landlords Are Not Enough
If a landlord tells you verbally that a broken fixture will be repaired before you move in, get it in writing - either as an addendum to the lease or a dated email confirmation. Verbal promises are difficult to enforce and are frequently forgotten or disputed. Any agreed repairs or acknowledged defects should appear on your signed move-in condition form.
Room-by-Room Checklist
Work through each area of the unit methodically. The checklist below covers the most common sources of move-out disputes and habitability concerns.
Entry, Hallways & Common Areas
Kitchen
Bathroom(s)
Bedrooms & Living Areas
Heating, Cooling & Utilities
Laundry, Storage & Exterior Access
Once you've completed the walkthrough, compile your photos, video, and notes into a single time-stamped file - a shared cloud folder works well. Send a copy to your landlord via email so there's a dated paper trail. When the time comes to move out, that same documentation becomes your first line of defense. Our guide on moving out cleanly and protecting your deposit walks through the exit process in detail. And if you want to understand the most common mistakes renters make at every stage, see common leasing pitfalls and how to avoid them.
The content on this site is provided for informational purposes only and should not be considered a substitute for professional advice. While we strive to provide accurate and up-to-date information, we make no guarantees regarding its completeness or accuracy. Always consult a qualified professional for advice specific to your circumstances before making any decisions.