

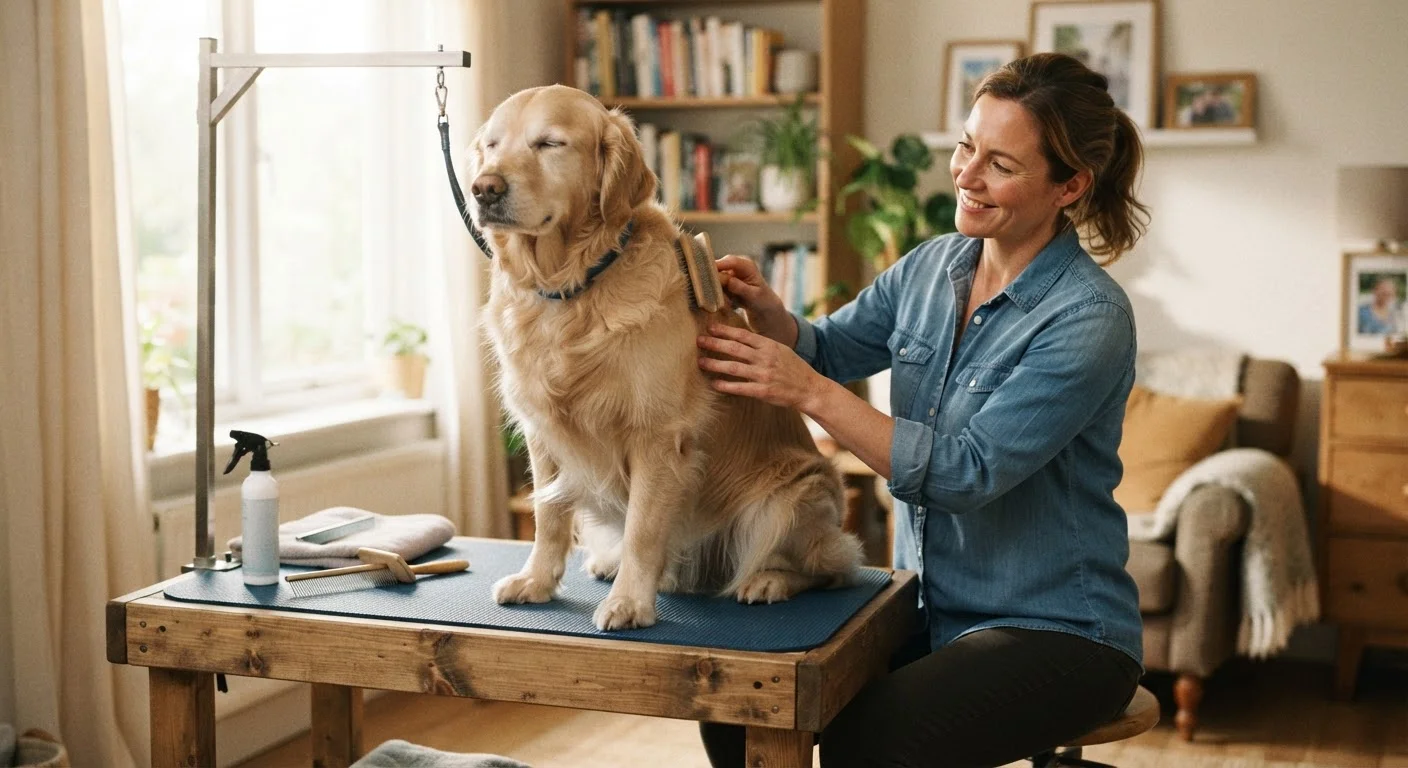
Why Home Grooming Matters - and Where Most Pet Owners Struggle
Regular grooming does more than keep your pet looking tidy. Brushing distributes natural skin oils, removes debris, and gives you a chance to notice lumps, sores, or parasites early. Nail maintenance prevents painful overgrowth that can alter gait and cause joint stress. Ear care reduces the risk of infections that can go undetected until they become serious. These tasks, done consistently at home, complement - not replace - professional grooming and veterinary checkups. For a broader approach to monitoring your pet's health between appointments, see our monthly pet health check routine.
The most common stumbling block is moving too fast. Many owners attempt a full groom the first time, the pet resists, and both parties end up stressed. Understanding how to recognize stress signals in pets before you start is as important as having the right tools. A pinned-back ear, tucked tail, dilated pupils, or attempts to flee are all early indicators - not defiance - and they deserve a response, not a firmer grip.
Slicker brush or deshedding tool
Removes loose fur, tangles, and debris from the coat without irritating the skin.
Pet-formulated shampoo
Cleanses the coat safely; human shampoos can disrupt a pet's skin pH and cause irritation.
Guillotine or scissor-style nail clippers
Designed to cut pet nails cleanly without crushing, reducing the risk of splitting.
Styptic powder
Stops minor bleeding quickly if a nail is accidentally trimmed too short.
Pet ear-cleaning solution
Loosens wax and debris inside the ear canal safely for gentle cleaning.
Cotton balls or gauze pads
Used to wipe the outer ear after applying cleaning solution - never insert into the canal.
Non-slip bath mat
Prevents slipping during bathing, which reduces anxiety and the risk of injury.
Before You Begin: Setting Your Pet Up for Success
Grooming tolerance is built over time through repetition and positive reinforcement, not through one thorough session. If your pet has never been groomed at home, plan to spend the first few sessions simply getting them comfortable with being touched in sensitive areas - paws, ears, and muzzle - and with the sight and smell of your tools. Pair every interaction with something your pet values: a treat, praise, or play.
Integrating grooming into a predictable schedule helps considerably. Pets that know what to expect tend to settle more quickly. Our guide to building a daily routine your pet can count on explains how structured schedules support calmer behavior overall. New pets in particular may need extra patience - for context on easing a recently adopted animal into home care, see our article on bringing a new pet home without derailing their health.
What you will need
Start Young, But It's Never Too Late
Introducing grooming during puppyhood or kittenhood generally leads to faster acceptance. Adult and senior pets can still learn to tolerate grooming - progress may simply be slower. Pair every session with high-value treats and keep early sessions under five minutes to establish positive associations gradually.
Step-by-Step Home Grooming
Follow the steps below in order. It is fine to split them across multiple sessions - for example, brushing one day and nail trimming the next - especially while your pet is still building tolerance. The goal is consistent, calm repetition.
Set up a calm grooming environment
Choose a time when your pet is relaxed - after exercise or a meal, not when they are already wound up. Use a non-slip surface at a comfortable height for both of you. Remove loud distractions such as other pets, children, or a blaring television. Lay out all your tools beforehand so you are not fumbling mid-session, which can unsettle an anxious animal.
Introduce tools before using them
Let your pet sniff each tool while offering a treat. Touch the tool lightly to their body - turned off, if it has a motor - and reward calm acceptance. Repeat this desensitization over one or several short sessions before proceeding. Rushing this step is a common reason pets become fearful of clippers or nail trimmers.
Brush the coat thoroughly
Work in the direction of hair growth, starting with areas your pet tolerates best - usually the back - before moving to more sensitive zones like the belly, paws, and face. Use gentle, short strokes and check for mats, skin irritation, lumps, or parasites as you go. For double-coated breeds, an undercoat rake helps prevent compacted shedding that traps heat. Cats often prefer lighter pressure than dogs; watch for tail flicking or skin twitching, which signal overstimulation.
Bathe your pet safely
Use lukewarm water and wet the coat thoroughly before applying a pet-specific shampoo. Avoid getting water directly in the ears, eyes, or nose. Massage shampoo in gently and rinse completely - residue left in the coat can cause skin irritation. Wrap your pet in a towel immediately after and squeeze (do not rub vigorously) to remove excess water. Allow them to air-dry in a warm room or use a low-heat dryer held at a safe distance, keeping the setting on low.
Trim nails gradually
Hold your pet's paw firmly but gently. Identify the quick (the pink blood vessel visible in light-colored nails; harder to see in dark nails). Clip only the curved tip at a 45-degree angle. Trim one or two nails per session if your pet is new to this process rather than attempting all nails at once. Reward after each nail to keep the association positive.
Clean the ears gently
Apply a vet-recommended ear-cleaning solution to a cotton ball and wipe the visible outer portion of the ear canal - the part you can see without tools. Never insert cotton swabs or any object deeper into the canal, as this risks injury and can push debris further in. Check for redness, unusual odor, excessive dark discharge, or your pet shaking its head repeatedly; these are signs that warrant a veterinary visit rather than home cleaning.
Stop If Your Pet Shows Distress
Growling, hissing, trembling, or snapping are clear signals that your pet is overwhelmed. Pushing through distress can create lasting negative associations with grooming and may result in injury to you or your pet. End the session calmly, give your pet space, and consult your veterinarian or a certified animal behaviorist if fear responses are frequent or severe.
Nail Trimming Requires Caution
Cutting too close to the quick - the blood vessel inside the nail - causes pain and bleeding. If you are unsure where the quick is, trim only the very tip and work gradually over multiple sessions. Keep a styptic powder on hand in case of accidental cuts, and ask your vet or groomer to demonstrate technique if you have never trimmed nails before.
This article provides general pet care information for educational purposes only. It is not a substitute for advice from a licensed veterinarian. If your pet shows signs of pain, skin conditions, ear problems, or behavioral concerns, consult a qualified veterinary professional.
The content on this site is provided for informational purposes only and should not be considered a substitute for professional advice. While we strive to provide accurate and up-to-date information, we make no guarantees regarding its completeness or accuracy. Always consult a qualified professional for advice specific to your circumstances before making any decisions.