

Summary
18 items · 20-40 minutes (plus 24-72 hours of observation time)
Why a Methodical Introduction Matters
Adding a new skincare product without a plan is one of the most common reasons people struggle to understand what is - or isn't - working for their skin. When multiple products enter a routine at the same time, and a breakout or reaction occurs, there's no clear culprit. Isolating variables is the foundation of any sensible skincare strategy.
Before you apply anything new to your full face or body, take a few minutes to work through this checklist. It's designed to reduce guesswork, protect your skin barrier, and give you reliable information about how your skin responds. Think of it less like a chore and more like running a controlled experiment with the subject you know best: yourself.
If you're still getting comfortable reading product labels, our guide on reading a skincare label walks you through what ingredient lists are actually communicating - and how to flag potential concerns before anything touches your skin.
Pre-Test Preparation
Applying the Patch Test
Observation Window (24-72 Hours)
Full Introduction Into Your Routine
Before You Patch Test: Preparation Steps
Patch testing works best when conditions are controlled. That means your skin should be in a relatively stable state - not freshly sunburned, actively broken out in the test area, or compromised by another new product introduced in the last few days. Rushing this stage is the most common mistake, and it's entirely avoidable.
Don't Test on Compromised or Active Skin
Patch testing on irritated, sunburned, or recently exfoliated skin can produce misleading results - either a false reaction or a missed one. If your skin is in a reactive state, wait until it has fully settled before beginning. Trying to push through discomfort to meet a self-imposed product introduction timeline is rarely worth it.
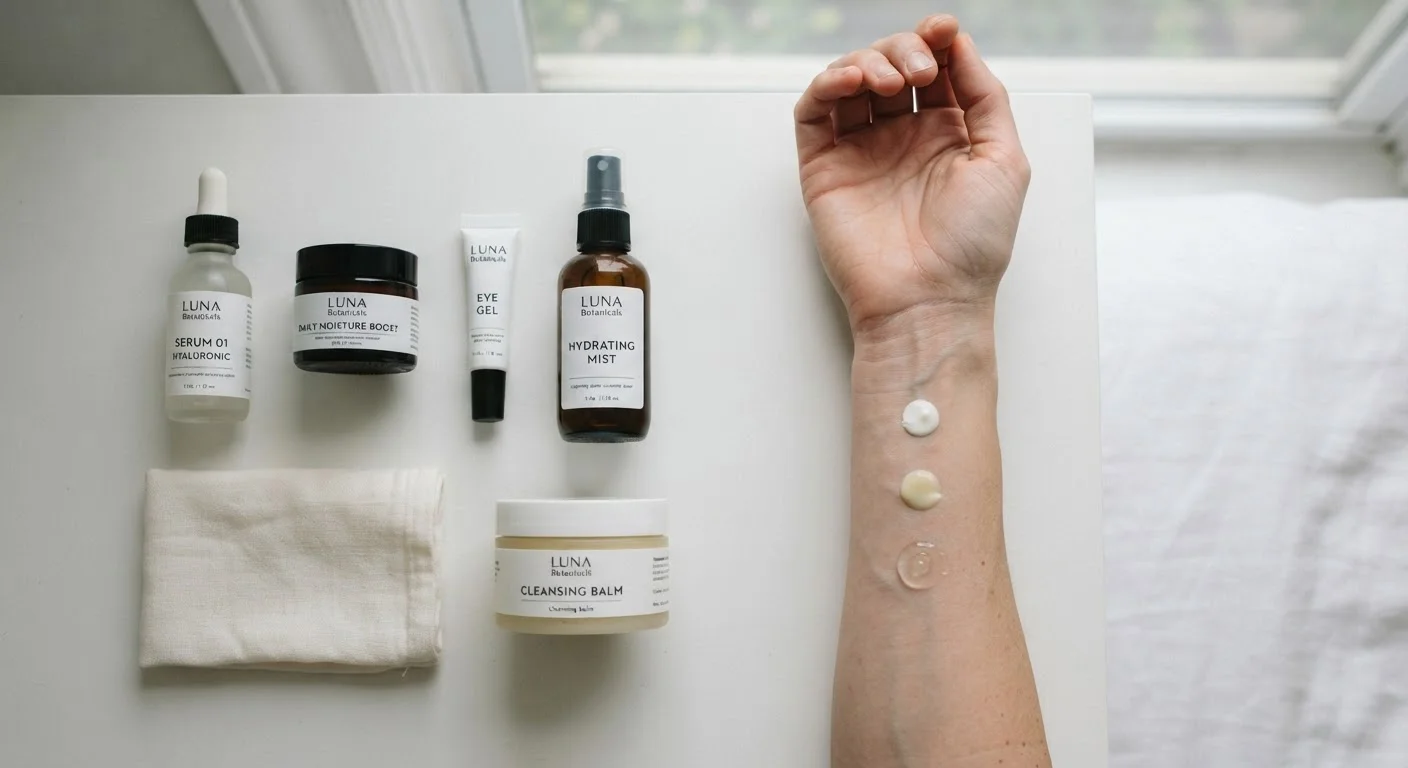
The inner forearm is typically the standard patch test site because the skin there is sensitive enough to show reactions but accessible for monitoring. Some dermatologists recommend testing on the area of skin closest to where you intend to use the product - for example, testing a face serum behind the ear or on the jawline rather than the forearm - since facial skin can respond differently.
Once you've completed the testing window, introduce the product slowly: begin with every other day or every third day, particularly with active ingredients like retinoids or exfoliating acids. This gives your skin time to acclimate rather than responding to an abrupt change in routine. If you're building out a broader routine thoughtfully, prioritizing your skincare spending can help you decide which products are worth adding in the first place.
Skin log or journal
Record baseline skin condition, patch test observations, and ongoing responses to track changes accurately over time.
Smartphone camera
Photograph the patch test site at regular intervals so visual changes are easy to compare across the observation window.
Ingredient checker app or database
Look up flagged ingredients before testing to identify known irritants, allergens, or interactions with products already in your routine.
Timer or calendar reminder
Set alerts at the 24-hour, 48-hour, and 72-hour marks so observation checks don't get missed.
Tracking and Interpreting Your Results
Observation without documentation has limited value. A few brief notes - taken once a day during the testing window - give you a reference point that memory alone can't provide. Note the date, the product, the test site, and any changes you observe: redness, itching, swelling, small bumps, or no response at all. No reaction after 72 hours is useful information too.
Be aware that some reactions are delayed. Contact dermatitis, for example, can sometimes appear 48 to 72 hours after exposure rather than immediately. This is why a 24-hour observation window is considered a minimum, not a guarantee. If you notice persistent redness, hives, or any signs of swelling beyond the test site, discontinue use and consult a dermatologist or healthcare provider. This checklist is general guidance - it is not a substitute for professional medical advice.
This article is for informational purposes only and does not constitute medical or dermatological advice. If you experience a significant skin reaction, stop using the product and seek guidance from a qualified healthcare professional.
The content on this site is provided for informational purposes only and should not be considered a substitute for professional advice. While we strive to provide accurate and up-to-date information, we make no guarantees regarding its completeness or accuracy. Always consult a qualified professional for advice specific to your circumstances before making any decisions.