

Why Repair Estimates Confuse Most Drivers
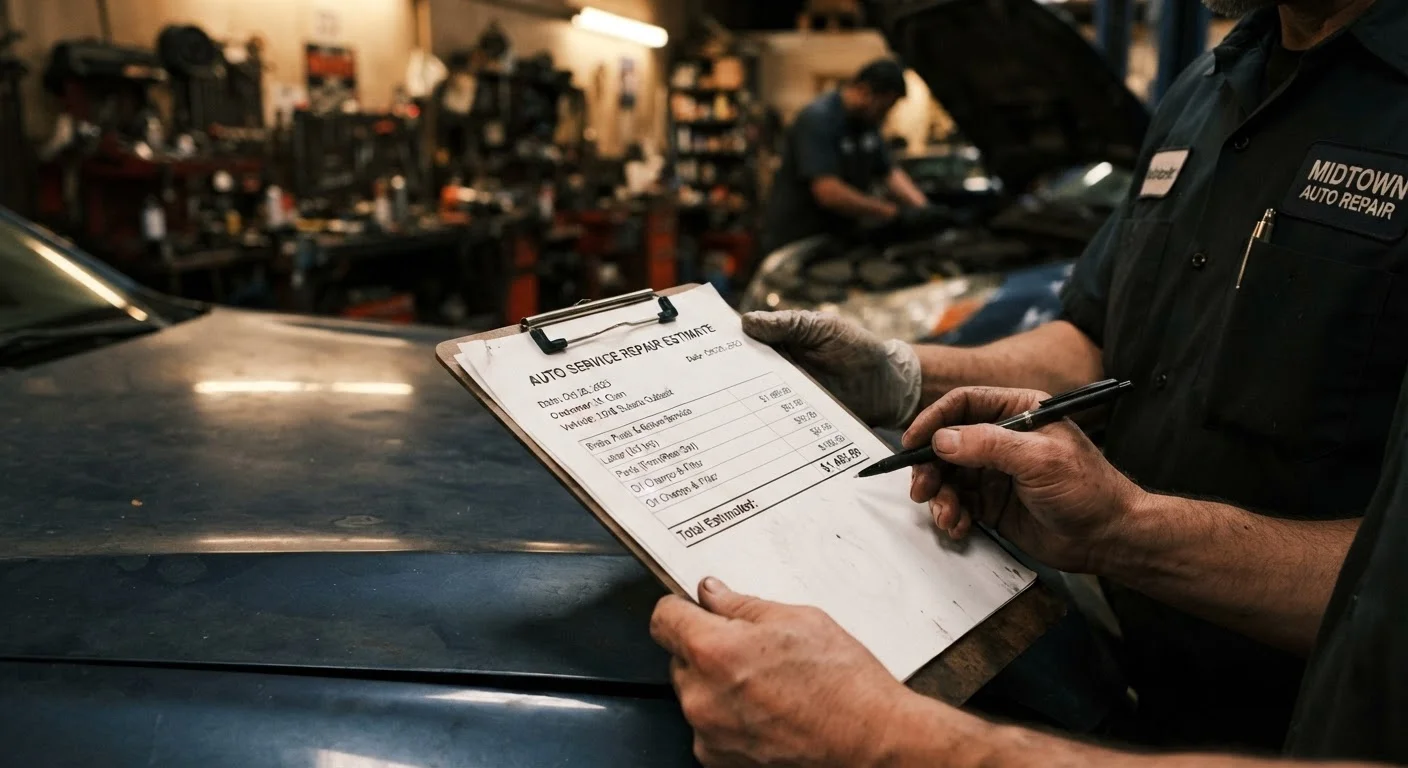
A mechanic's estimate is essentially a cost proposal - but the way they're formatted can make even straightforward repairs look intimidating. Technical part names, coded labor descriptions, and a string of fees can obscure what you're actually paying for. That confusion is costly: drivers who don't understand their estimates are more likely to approve unnecessary work or miss errors.
Understanding the structure of an estimate doesn't require mechanical expertise. It requires knowing which categories to look for, what questions are reasonable to ask, and what your rights are as a consumer. If you've ever wondered what happens under the hood before you even bring your car in, see our guide on what to expect during a pre-purchase inspection - the process shares similar transparency principles.
Always Get the Estimate in Writing
Verbal quotes are not legally binding in most states. Before any work begins, request a written estimate that itemizes labor hours, part numbers, and fees. Many states require shops to obtain your written authorization before exceeding the estimate by a defined threshold - ask your shop about this policy upfront.
Breaking Down the Estimate: Step by Step
Most repair estimates follow a predictable three-part structure: labor charges, parts costs, and shop fees. Once you know where to look for each, reviewing an estimate becomes far more manageable. Follow the steps below to work through any estimate methodically.
What you will need
Written Repair Estimate
The document you'll be analyzing - must be itemized with labor, parts, and fees listed separately.
Smartphone or Computer
Used to look up unfamiliar terms, verify part costs, or check average labor rates in your area.
Locate the Labor Section
Find the line items labeled Labor on your estimate. Each repair job should list a task description, the number of hours (or fractions of an hour) billed, and the shop's hourly labor rate. Most independent shops charge between $75 and $150 per hour; dealerships typically charge more. Hours are often drawn from a standardized labor guide - meaning a job might be billed at 2.5 hours whether the technician finishes in 1.5 or 3.
Review the Parts Line Items
Parts should be listed individually, each with a part number, a brief description, quantity, and unit price. Note whether the estimate specifies OEM (Original Equipment Manufacturer) parts - made to the same spec as your factory components - or aftermarket parts, which are produced by third-party manufacturers and are often less expensive. Both can be quality options depending on the repair, but you have the right to ask which is being used and why.
Also check whether any parts are listed as remanufactured (rebuilt to factory spec) or used/salvage. Each category carries different warranty implications.
Identify Shop Fees and Taxes
Many estimates include a shop supply fee - a percentage charge (often 5-15% of the total) that covers consumables like rags, cleaning solvents, and disposal of fluids. This is a legitimate charge at most shops but should still be listed explicitly. You may also see a hazardous waste disposal fee for items like old oil, coolant, or brake fluid.
State and local sales tax will typically appear as a separate line. In some states, labor is not taxable but parts are - your estimate may reflect this split.
Check the Warranty or Guarantee Statement
A trustworthy estimate includes a warranty on both parts and labor. Look for language specifying how long the warranty lasts (commonly 12 months or 12,000 miles, whichever comes first) and what it covers. If no warranty is mentioned, ask the service advisor directly. Shops that stand behind their work make this clear upfront.
Ask the Right Questions Before Authorizing
Before signing off, raise any flagged items with the service advisor. Key questions include:
- Why is this repair needed now? - Ask the mechanic to show you the problem directly if possible.
- What happens if I defer this repair? - Some issues are safety-critical; others can wait. Neglected maintenance can escalate costs, but not every item on an estimate is urgent.
- Can I have my old parts back? - Most states allow you to request returned parts, which confirms the work was actually done.
- Is there a less expensive alternative? - Asking about aftermarket options or phased repairs is reasonable and expected.
Beware of Vague Line Items
If an estimate lists a charge as simply 'miscellaneous' or 'shop supplies' without a clear explanation, ask for a breakdown before signing. Ambiguous line items can be inflated or duplicated without your knowledge. A reputable shop will explain every charge in plain language.
Bring a Second Opinion If Unsure
If an estimate feels high or confusing, it's completely reasonable to get a second written quote from another licensed shop. Many mechanics expect this for larger repairs. A pre-purchase inspection by an independent mechanic follows the same principle - a second set of eyes protects you.
For drivers who want to understand which jobs are safe to handle themselves versus which genuinely require a licensed technician, our guide on DIY car maintenance limits provides a useful complement to what you've learned here.
The content on this site is provided for informational purposes only and should not be considered a substitute for professional advice. While we strive to provide accurate and up-to-date information, we make no guarantees regarding its completeness or accuracy. Always consult a qualified professional for advice specific to your circumstances before making any decisions.