

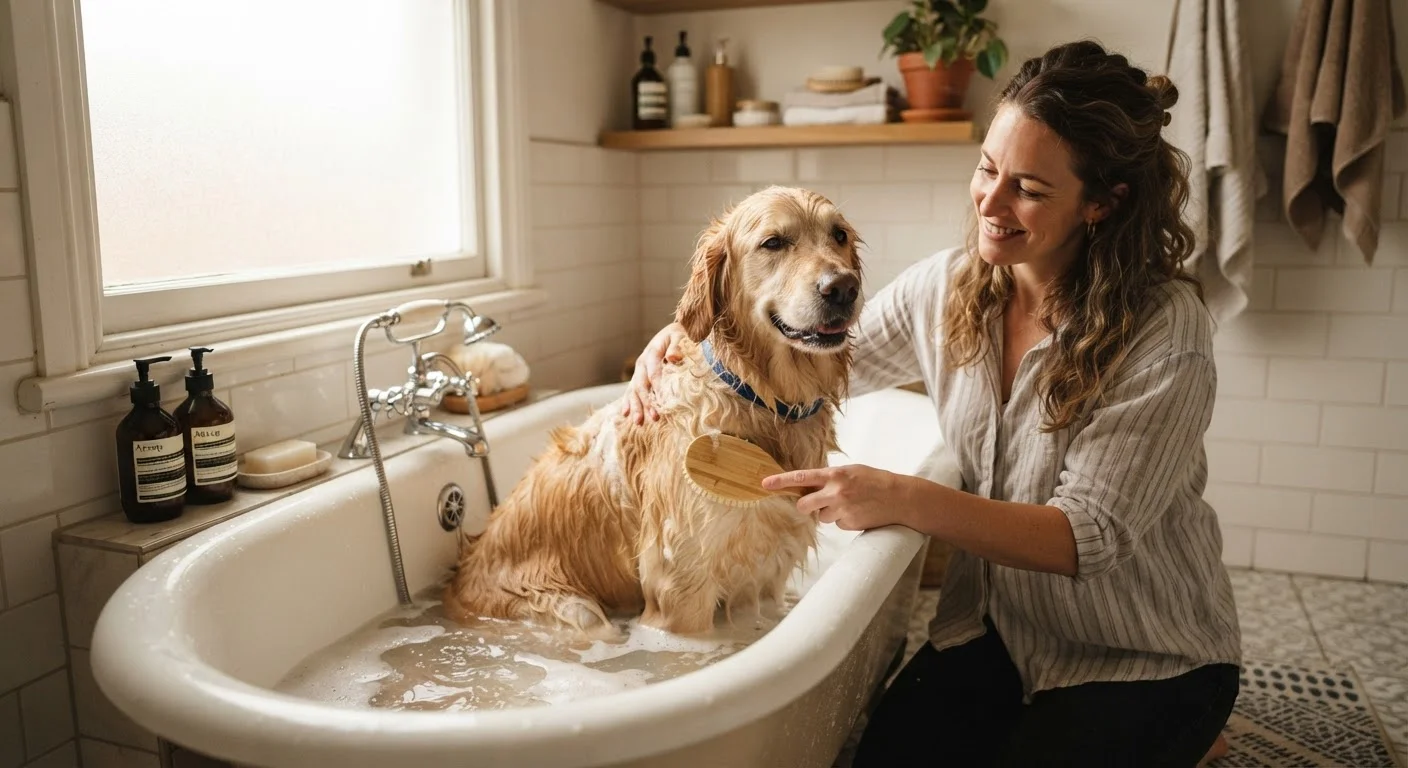
Why At-Home Grooming Matters
Regular grooming is more than aesthetics. It supports skin health, prevents painful matting, reduces shedding, and gives you a consistent, up-close look at your dog's body. The monthly health check routine many vets recommend pairs naturally with grooming - both are hands-on practices that help you notice changes between professional appointments.
For new dog owners, the idea of handling a squirming or anxious pet with clippers and scissors can feel daunting. The good news is that stress-free grooming is a learned skill for both owner and dog. Starting slow, keeping sessions short, and rewarding calm behavior consistently builds a dog that tolerates - and often enjoys - the process over time.
Build Positive Associations Early
Dogs that are introduced to grooming tools gradually and paired with rewards tend to remain calmer for life. Even a few minutes of letting your dog sniff the brush or nail clippers before using them can significantly reduce anxiety. Consistency and patience yield better long-term results than rushing through a full session.
If your dog is new to your home, see our guidance on settling a new pet in without health setbacks before beginning any grooming routine. A dog that is still adjusting to its environment may need extra patience.
What You'll Need Before You Start
Having the right tools assembled before your dog is on the grooming table (or bathroom floor) prevents fumbling mid-session - which can unsettle an anxious dog quickly.
Slicker brush or breed-appropriate comb
Removes loose fur, detangles coat, and distributes natural skin oils.
Dog-formulated shampoo
Cleans skin and coat without disrupting the dog's natural pH balance.
Dog nail clippers (scissor or guillotine style)
Trims nail length safely to prevent overgrowth and discomfort.
Styptic powder
Stops minor bleeding quickly if a nail is accidentally trimmed too short.
Dog ear cleaning solution
Loosens debris and wax in the outer ear canal for safe removal.
Cotton balls or gauze pads
Used to gently wipe the outer ear after applying cleaning solution.
Non-slip bath mat
Gives the dog stable footing during bathing to reduce anxiety.
Absorbent towels or a low-heat blow dryer
Dries the coat thoroughly after bathing to prevent skin irritation.
Set up your grooming area in a consistent location so your dog begins to associate that spot with the routine. A non-slip mat on a bathroom floor or tub works well for most dogs. If you are still setting up your home for a new pet, our guide on preparing your home before your animal arrives covers designated spaces and supply planning in detail.
What you will need
Step-by-Step: Brushing, Bathing, Nails, and Ears
Work through the following steps in order during a full grooming session. For dogs new to grooming, it is perfectly reasonable to spread these tasks across multiple short sessions rather than completing them all at once.
Brush the coat before bathing
Always brush before you wet the coat. Water tightens tangles and mats, making them much harder to remove afterward. Work in sections from the skin outward, moving in the direction of hair growth. For longer coats, use a comb to check for mats at the base of the fur after brushing the surface layer.
Short-coated dogs typically need brushing once a week; double-coated or long-haired breeds may need daily attention during shedding seasons. If you encounter a tight mat, hold the base of the fur close to the skin to minimize pulling, and work through it gradually with a slicker brush or detangling comb.
Bathe your dog with dog-specific shampoo
Wet your dog thoroughly with lukewarm water - never hot. Apply a dog-formulated shampoo and lather from neck to tail, avoiding the eyes and ear canals. Massage gently to work the shampoo into the coat and down to the skin.
Rinse completely - residual shampoo is a common cause of skin irritation. A second rinse is rarely a bad idea, especially on thick-coated breeds. Towel dry thoroughly, and if using a blow dryer, keep it on a low-heat setting and hold it at least six inches from the skin.
Trim nails carefully and gradually
Hold the paw gently but firmly. Clip only the curved tip of the nail - the translucent or whitish portion on light-colored nails. On dark nails, where the quick (the blood vessel inside the nail) is not visible, take off very small amounts at a time. Look at the cut surface after each small clip: a small dark dot at the center signals you are approaching the quick and should stop.
Aim to trim nails every three to four weeks. Nails that click audibly on hard floors are generally overdue for a trim. If you accidentally nick the quick and bleeding occurs, apply styptic powder or firm pressure with a clean cloth for several minutes.
Clean ears gently and only the outer canal
Lift the ear flap and apply a veterinarian-recommended ear cleaning solution into the outer canal opening. Gently massage the base of the ear for about 20 to 30 seconds - you may hear a slight squelching sound, which is normal. Allow your dog to shake its head, then use a cotton ball or gauze pad to wipe away loosened debris from the visible outer ear.
Never insert cotton swabs or any object into the ear canal. Cleaning frequency varies by breed; dogs with floppy ears or those that swim regularly may need more frequent attention. Signs of ear problems - redness, odor, dark discharge, or persistent scratching - warrant a veterinary visit rather than home cleaning.
Know When to Call a Professional
Some tasks - such as expressing anal glands, trimming hair around the eyes, or working with a dog that has become aggressive during grooming - are best left to a licensed groomer or veterinarian. Attempting these procedures without proper training can cause injury or significant distress. There is no shame in delegating specific tasks to a professional while handling routine brushing and ear checks yourself.
Recognizing when your dog is overwhelmed is essential. Yawning, lip-licking, pinned ears, or attempts to leave are all stress signals. Our article on recognizing and responding to pet stress can help you interpret your dog's body language and respond appropriately.
The content on this site is provided for informational purposes only and should not be considered a substitute for professional advice. While we strive to provide accurate and up-to-date information, we make no guarantees regarding its completeness or accuracy. Always consult a qualified professional for advice specific to your circumstances before making any decisions.