

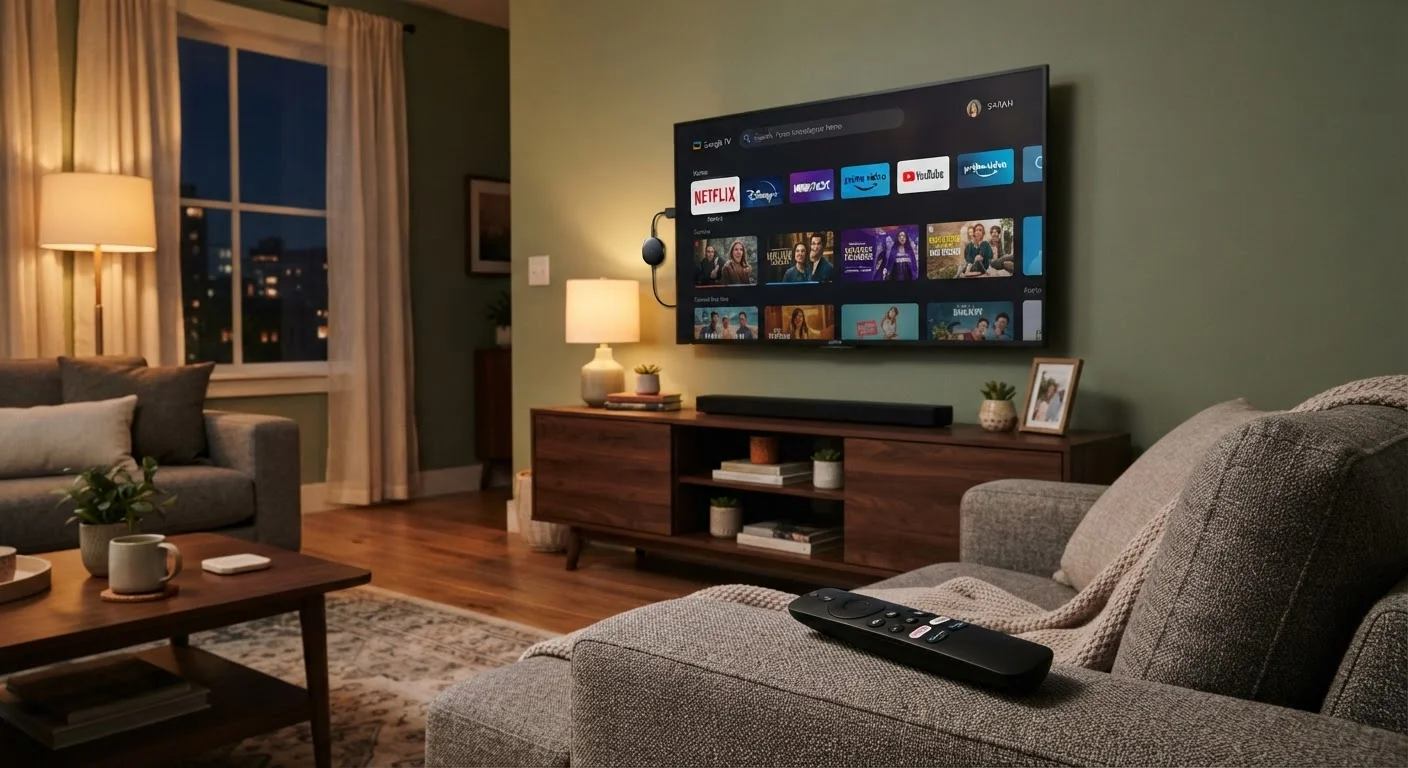
What You'll Need Before You Start
Setting up a streaming device is genuinely straightforward, but having a few things ready beforehand will save you frustration mid-setup. You'll need your TV, the streaming device and all its accessories, your Wi-Fi password, and login credentials for at least one streaming service.
What you will need
Streaming Device
The core hardware - a stick, box, or dongle - that connects to your TV and runs streaming apps.
HDMI Cable
Connects a streaming box to your TV; streaming sticks typically plug directly into the HDMI port without a cable.
Remote Control
Used to navigate the device's on-screen interface; most modern remotes pair via Bluetooth automatically.
AA or AAA Batteries
Powers the remote control; check the box to confirm which size is needed before setup.
Smartphone or Tablet
Some devices allow you to complete account sign-in through a companion app instead of typing on the remote.
If you're moving into a new place and setting up your entertainment system from scratch, the basics of getting utilities and internet service connected are covered in our first-time renting guide.
Step-by-Step Setup Instructions
Follow the steps below in order. The entire process typically takes between 10 and 30 minutes, depending on your internet speed and how long software updates take to install.
Unbox and inventory everything
Before plugging anything in, lay out all the contents of the box. Most streaming devices include the device itself, a remote, a power adapter or USB cable, and batteries. Some include a short HDMI extender cable. Check that nothing is missing against the package's included-items list.
Plug the device into your TV's HDMI port
Streaming sticks plug directly into a free HDMI port on your TV. Streaming boxes connect via a short HDMI cable. Either way, look for a label on your TV that says HDMI 1, HDMI 2, or similar - note which number you use, because you'll need it in the next step.
If your TV is wall-mounted and the port is hard to reach, use the included HDMI extender cable to give yourself more clearance.
Connect the power and turn on your TV
Plug the device's power adapter into a wall outlet or the USB port on your TV (if available). Power the TV on using its own remote or power button, then press the Input or Source button on your TV's remote to cycle through inputs until you reach the HDMI number you noted in Step 2. You should see a setup or loading screen from the streaming device.
Pair the remote and choose your language
Most remotes pair automatically the moment the device powers on. If nothing happens, hold the pairing button (usually described in the quick-start guide included in the box) for several seconds. Once paired, use the remote to select your preferred language and region when prompted.
Connect to your Wi-Fi network
The setup wizard will show a list of nearby Wi-Fi networks. Select your home network name (called an SSID) and enter your Wi-Fi password using the on-screen keyboard. Take your time here - password entry with a remote is slow, and a single wrong character will cause a failed connection.
Not sure what your network name or password is? Check the label on your router, or ask whoever manages your internet account. If you need a plain-language explanation of streaming-related terms, the Glossary of Streaming Terms is a useful reference.
Complete software updates
After connecting to Wi-Fi, most devices automatically check for and install software updates before continuing. Let this process finish without interrupting it - unplugging the device mid-update can cause software errors that require a full reset.
Sign in to your streaming account
You'll be prompted to sign in to the platform associated with your device (for example, an Amazon account for Fire TV devices, or a Google account for Chromecast with Google TV). Use the on-screen keyboard or sign in through the manufacturer's website on your phone if that option appears - it's typically much faster.
After signing in to the device platform, open individual apps like Netflix or Hulu and sign in to each service separately with those accounts' credentials.
Explore settings and customize your home screen
Before you start watching, take two minutes to check the device's display settings. If your TV supports HDR or 4K resolution, confirm the device is outputting at the right resolution under the video or display settings menu. You can also rearrange apps on the home screen so your most-used services appear first.
Already Drowning in Streaming Bills?
Once your device is set up, it's easy to end up subscribed to more services than you actually use. Before signing up for every available app, it's worth thinking through how you'll manage multiple subscriptions. Our guide on managing streaming subscription fatigue can help you avoid paying for services you'll rarely open.
Troubleshooting Common First-Time Issues
Even when you follow every step correctly, a few common problems tend to trip up first-time users.
- No signal on the TV screen
- Double-check that you've selected the correct HDMI input on your TV. The device won't display anything if your TV is showing a different input source.
- Remote won't pair
- Make sure fresh batteries are installed. Hold the pairing button for at least five seconds. Some remotes require you to be within a few feet of the device during pairing.
- Wi-Fi password rejected
- Passwords are case-sensitive. Re-enter carefully and confirm caps lock isn't on. If problems persist, restart your router and try again.
- Video looks blurry or keeps buffering
- This is almost always a Wi-Fi signal or internet speed issue rather than a device problem. Move the device closer to your router if possible, or check your internet plan's speed.
Never Share Account Credentials on Public Wi-Fi
If you're setting up a streaming device somewhere other than your home - say, at a vacation rental - avoid logging into personal accounts over an unsecured public Wi-Fi network. Use a mobile hotspot from your phone instead. Always log out of all accounts before leaving a device in a shared space.
For a deeper understanding of terms like bitrate, HDR, and 4K - which affect picture quality settings in your device's menu - the streaming terms glossary is worth bookmarking. And if you're also setting up a new computer alongside your streaming device, the first things to do on a new computer guide covers similar foundational steps for that process.
The content on this site is provided for informational purposes only and should not be considered a substitute for professional advice. While we strive to provide accurate and up-to-date information, we make no guarantees regarding its completeness or accuracy. Always consult a qualified professional for advice specific to your circumstances before making any decisions.